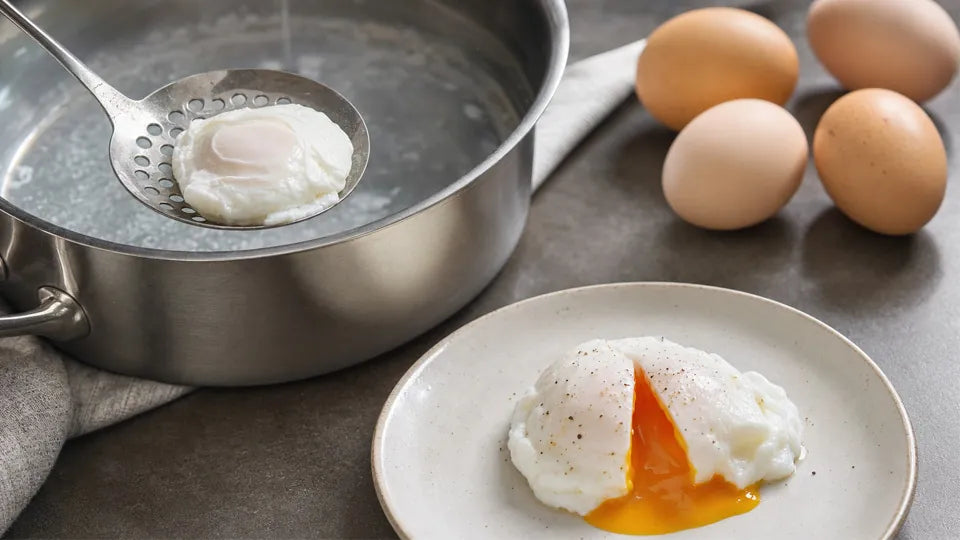
How to Poach the Perfect Egg in a Saucepan Every Single Time
A poached egg looks fussy, but you only need a fresh egg, hot water, and a saucepan that holds the water still. Once the water temperature and placement technique are under control, beginners can produce a neatly set white with a tender yolk more consistently.
Poaching cooks an egg in hot water and requires no cooking oil. A well-sized saucepan lets the white settle around the yolk without a dedicated poached egg maker.
A small bowl or ramekin makes the egg easier to lower into the water, while a slotted spoon makes the egg easier to lift and drain. Fresh eggs are helpful because their thicker whites tend to remain closer to the yolk.
1. Choose a Well-Constructed Sauce Pan for Controlled Heating
Consider the Complete Construction
A stainless steel sauce pan can offer durability and responsive temperature control, although heating consistency depends on the complete construction rather than the exterior alone. A substantial base can reduce temperature changes when a cold egg enters the water.
Select a Practical Capacity
A saucepan should provide enough depth for the egg to settle without striking the bottom. For one or two eggs, a moderate capacity makes the water easier to control than an unnecessarily large pot.
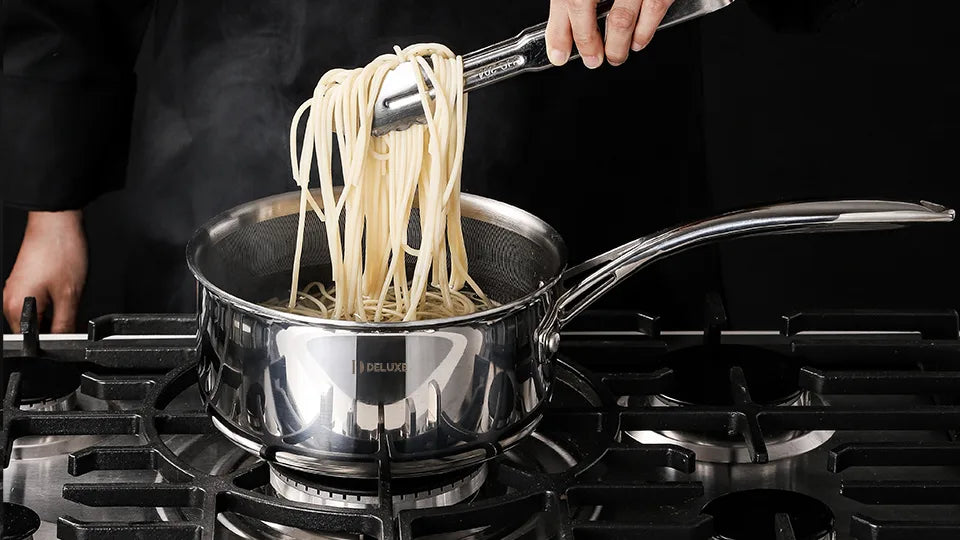
The DELUXE 3 Qt Saucepan is compatible with gas, electric, induction, and ceramic cooktops. Its lid is useful for other cooking tasks, although poached eggs are normally easier to monitor with the lid removed.
Preheat the Cookware Gradually
Water can be warmed over low to medium heat until small bubbles appear. Prolonged excessive heat is unnecessary for poaching and may also shorten the service life of a nonstick cooking surface.
The process becomes easier when the burner is adjusted gradually instead of being left at an aggressive setting. That same moderate heat matches DELUXE’s use and care guidance.

2. Maintain the Water Temperature Below the Boiling Point
Look for Gentle Water Movement
Poaching water should be hot but not rolling vigorously. A useful target is approximately 180–190°F (82–88°C), with light movement and occasional small bubbles rather than a full boil.
A rolling boil can pull the white away from the yolk and create ragged edges. If the surface becomes turbulent, lowering the burner and allowing the water to settle usually restores control.
Use a Thermometer or Visual Cues
A kitchen thermometer provides the clearest reading, but it is not essential. Beginners can watch for the following signs:
- Steam rising steadily
- Small bubbles forming on the bottom
- A mostly calm surface
- No forceful bubbling around the sides
Once these cues appear, the water is generally ready for the egg.
Understand the Food-Safety Trade-Off
Many people prefer a fully set white and a soft yolk, but a soft yolk may not meet conservative food-safety guidance. The USDA advises cooking eggs until both the white and yolk are firm. It also recommends an internal temperature of 160°F (71.1°C) for egg dishes. Anyone at higher risk of foodborne illness may prefer fully cooked eggs or pasteurized egg products. People who are pregnant, older, very young, or immunocompromised should consider fully cooked or pasteurized eggs. See the USDA’s shell egg safety guidance for details.

3. Use a Small Saucepan for Better Control
Match the Pan to the Batch
A small saucepan works particularly well when poaching one egg because the limited space helps keep the water movement focused. It also requires less water and makes the movement around a single egg easier to monitor.
For several eggs, however, a wider saucepan may be more practical. Each egg needs enough separation to prevent the whites from joining together.
Add the Right Water Depth
About 2–3 inches of water is usually sufficient. This depth allows the white to surround the yolk while limiting the distance the egg travels before it begins to set.
Too little water may flatten the egg against the bottom. Excessive depth can make placement and retrieval more difficult without providing a clear benefit.
Compare a Saucepan and a Poached Egg Maker
The choice in a saucepan vs poached egg maker comparison often comes down to texture and convenience.
| Option | Main Advantage | Possible Limitation |
|---|---|---|
| Saucepan | Traditional water-poached texture | Requires closer control of water movement |
| Poached egg maker | Keeps eggs in a fixed shape | Texture may resemble a steamed or coddled egg |
| Small saucepan | Convenient for one egg and easy to monitor | Limited space for larger batches |
A dedicated insert may feel more predictable, but an ordinary saucepan is more versatile and requires no single-purpose accessory.
4. Create a Gentle Whirlpool to Gather the Egg White
Stir Without Creating Turbulence
A gentle whirlpool can encourage loose egg white to fold around the yolk. The motion should be slow and controlled rather than deep or forceful.
Using a spoon, the water can be stirred in one direction for a few seconds. Once a mild circular current forms, the spoon can be removed before the egg enters.
Use the Whirlpool for One Egg
The whirlpool method is best suited to a single egg. Adding several eggs to the same rotating current can bring them together or distort their shapes.
When poaching a batch, calm water and careful spacing are often more reliable. That is why the whirlpool is optional, not required.
Consider Freshness and Optional Vinegar
Fresh eggs generally have firmer whites that spread less. If an egg has a particularly watery outer white, briefly passing it through a fine-mesh strainer can remove some of the loose liquid.
A small amount of vinegar may help the white set more quickly, but too much can affect flavor. It remains optional when fresh eggs and controlled water are used.
5. Slide the Egg into the Sauce Pan with Precision
Crack the Egg into a Small Bowl
Cracking the egg into a ramekin makes placement easier and provides a chance to check for shell fragments. It also avoids dropping the egg from a height, which can separate the yolk from the white.
The bowl should be held close to the water so the egg has only a short distance to travel.
Lower the Egg Gently
For a controlled transfer, follow this short sequence:
- Bring the ramekin close to the water’s surface.
- Tilt it slowly near the center of the mild whirlpool or calm water.
- Slide the whole egg gently into the water in one smooth motion.
- Leave the egg undisturbed while the outside begins to set.
If a small strand of white drifts away, it can be left alone rather than chased through the water.

Judge Doneness Carefully
Cooking time varies with egg size, starting temperature, water temperature, and preferred texture. Around three to four minutes often produces a set white with a soft center, but watch the white and nudge the egg gently; the clock is only a starting point.
The white should appear opaque and hold together. For conservative food safety, the yolk should also be cooked until firm.
6. Drain the Excess Water Before Serving
Lift the Egg with a Slotted Spoon
A slotted spoon supports the egg while allowing most of the water to escape. Sliding the spoon underneath from the side is gentler than pressing directly against the yolk.
The egg can then remain above the saucepan for a few seconds while the first layer of water drains away.

Blot the Underside
Residual water can make toast, vegetables, or grain bowls soggy. Briefly resting the spoon on a folded clean towel or touching only the underside of the egg to the towel removes excess moisture without damaging the top.
Any loose, feathery edges may be trimmed for a neater presentation, although this is optional.
Serve Without Delay
Poached eggs are usually at their best soon after cooking. They can be paired with toast, salads, roasted vegetables, rice, or breakfast bowls.
If several eggs must be prepared, finished eggs may be held briefly in warm water and then drained before serving. Extended holding can continue cooking the yolks, so timing still matters.
7. Bring Easier Egg Poaching to Your Kitchen
Put the Technique into Practice
Calm water, careful placement, and close observation can make poached eggs feel far more approachable. With the core technique in place, the next breakfast offers an easy opportunity to practice the method.
Choose a Saucepan That Fits the Task
A small saucepan is convenient for one egg, while a wider pan provides better spacing for several. The right capacity helps keep the water manageable and the eggs separated.
Explore DELUXE Saucepan Options
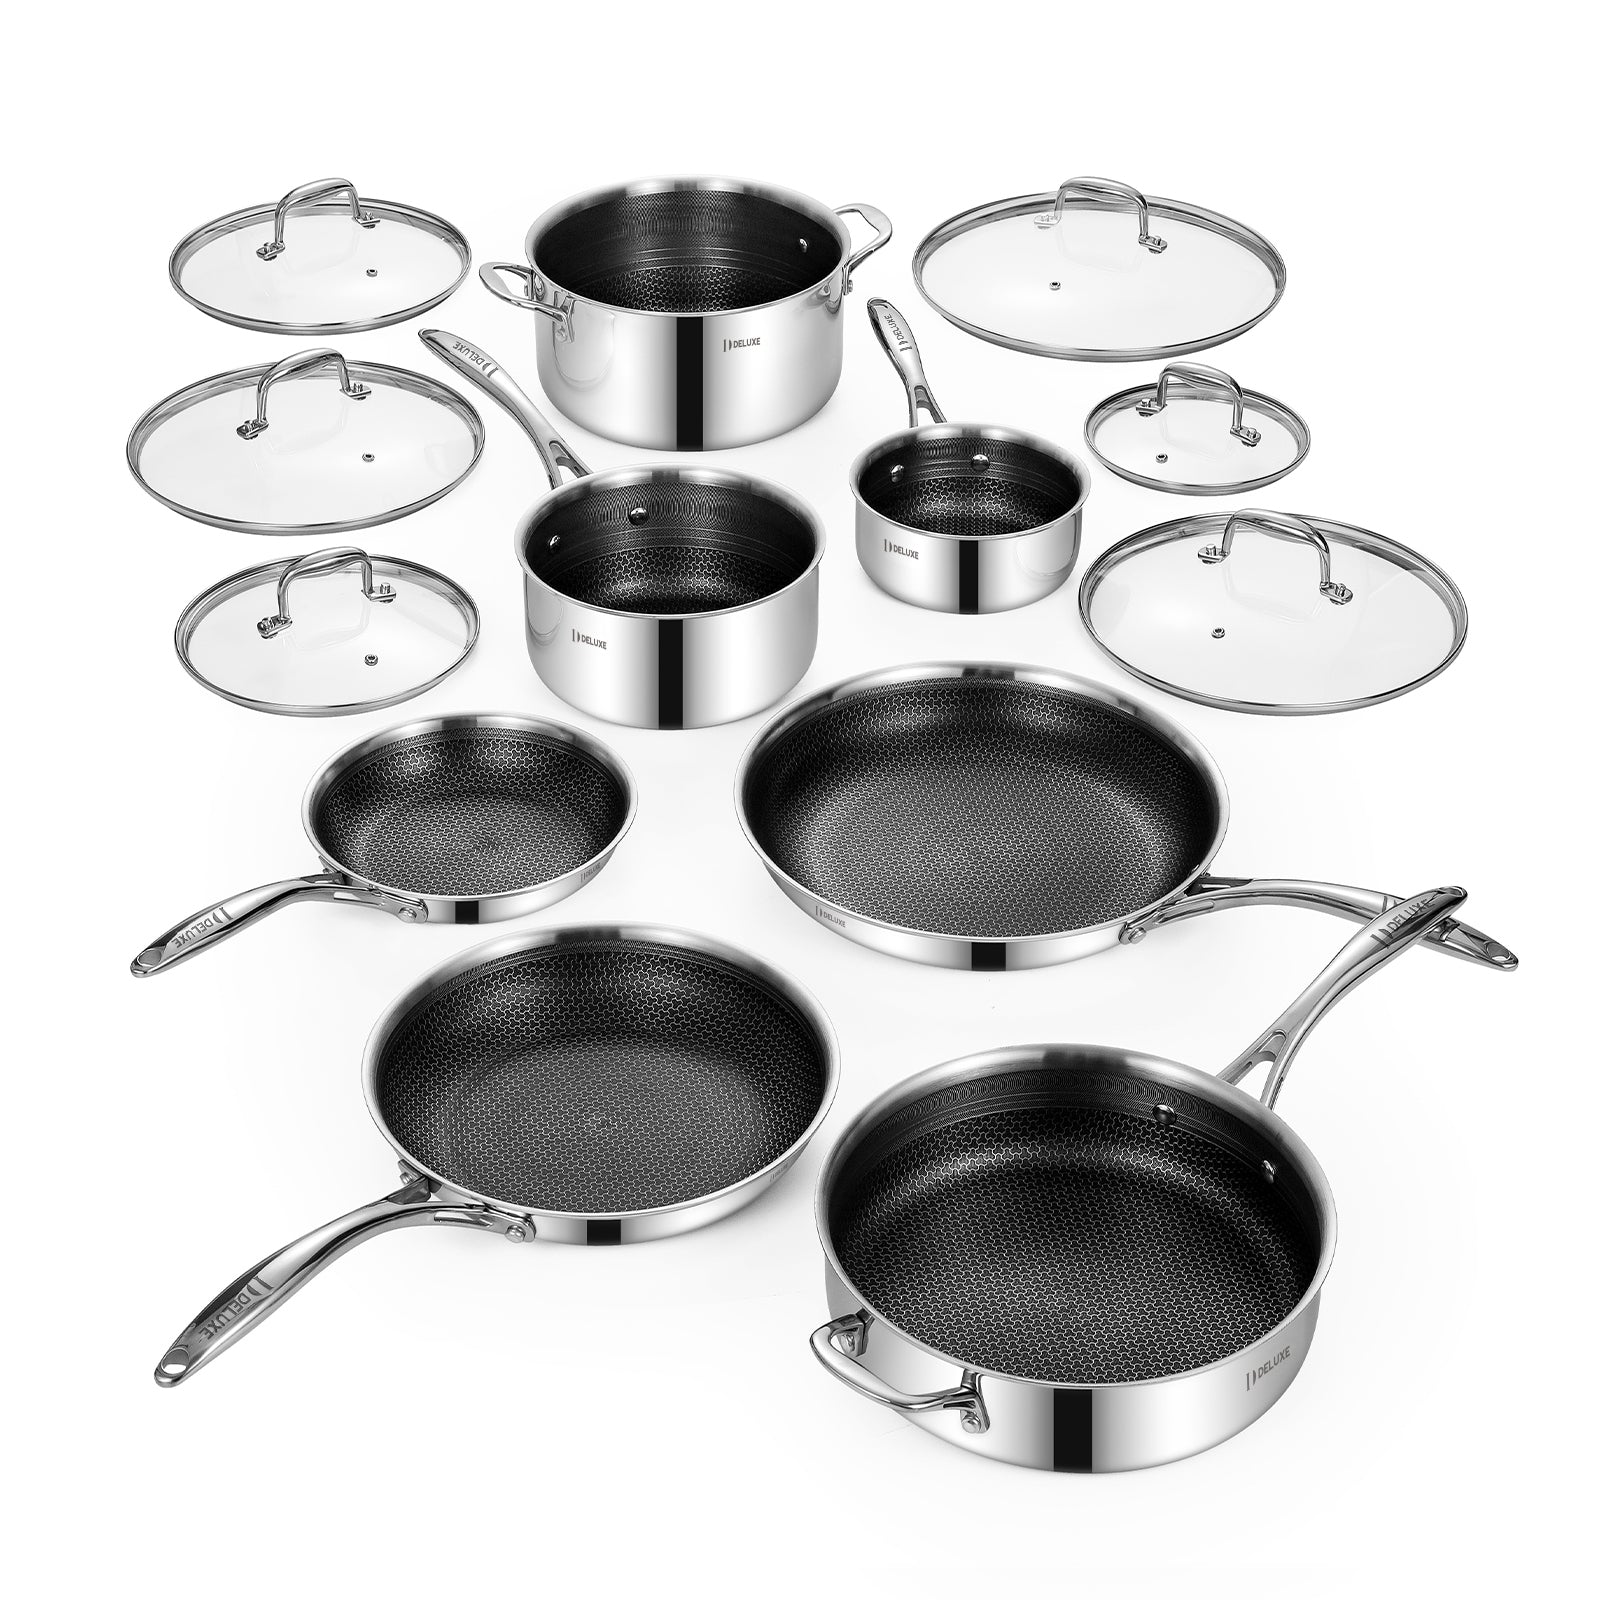
A DELUXE hybrid ceramic nonstick saucepan combines stainless steel components with a ceramic nonstick cooking surface for poaching and other everyday tasks. Explore the DELUXE 3 Qt Saucepan to see whether its capacity and cooktop compatibility suit your kitchen routine.
FAQs About Poaching Eggs in a Saucepan
Should Vinegar Be Added to Poaching Water?
Vinegar is optional. A small splash may encourage the outer white to set sooner, but fresh eggs and properly controlled water can also produce a compact result without it.
Can Several Eggs Be Poached in One Sauce Pan?
Yes, provided the saucepan is wide enough to keep them separated. The eggs are best added individually from separate small bowls, and a whirlpool is generally unnecessary for multiple eggs.
Is a Stainless Steel Sauce Pan Better Than a Poached Egg Maker?
Neither option is universally better. A saucepan offers traditional water-poached texture and broader kitchen versatility, while an egg maker provides a fixed shape and may require less hands-on control.
Why Does the Egg White Spread in the Water?
Spreading often results from an older egg, turbulent boiling water, or dropping the egg from too high above the surface. Fresher eggs, calmer water, and releasing the egg close to the water’s surface can reduce feathering.
Can a Saucepan Be Used on an Electric Cooktop?
A compatible saucepan can be used on an electric stove or cooktop, but it should not be called an electric saucepan unless it contains its own electrical heating system. DELUXE’s hybrid saucepan is compatible with electric cooktops as well as gas, induction, and ceramic surfaces.