
How to Get Crispy Skin on Fish — Salmon, Sea Bass, and Anything Else
Crispy fish skin is decided before the fillet touches the pan. By the time the fish is in, you have two jobs left: press it down once, then leave it alone.
The flipping, the spatula, the oil — all of that only protects what the first few minutes already decided. This guide covers why skin sticks, why it eventually lets go on its own, and what actually changes between salmon, sea bass, and a thin fillet of flounder.
Why Fish Skin Sticks, and Why It Eventually Lets Go
A wet surface never gets hot enough
A fillet straight from the fridge carries a film of moisture on the skin. Hit a hot pan and that moisture flashes to steam, which sits between skin and metal like a cushion. Steam conducts heat poorly, so the surface that should brown immediately stays cooler than the pan around it.
That lower temperature is where the trouble starts. Raw protein unfolds as it heats, and given a moment it attaches to whatever surface it is resting on. It is the same mechanism behind a stuck steak or a torn pancake, which we cover in more detail in our guide to why food sticks to a frying pan.
Protein bonds, protein contracts, the fish lets go
The bond is real, but it is also temporary. As protein cooks, it coagulates, squeezes out moisture, and contracts. That contraction pulls the fish away from the pan and separates the bond from the inside. The skin releases because the fish shrinks, not because you were good with a spatula.
Which is why an early flip is the real cause of torn skin. Slide a spatula under a fillet before that contraction has happened and you are not lifting it — you are ripping the bond apart at its weakest point. If the fillet resists, it may need more time, but also check the heat level, surface moisture, and amount of oil before continuing.
Serious Eats makes the preheat half of this well: fish entering a pan that is too cool can bond with the metal before its surface sets. That single point accounts for most of the torn skin people blame on their spatula.

The Four Things That Decide It
Four variables, and none of them is the pan.
- Dry the skin until it feels tacky, not damp. One pass with paper towel is not enough. Touch it — it should feel sticky and matte, not slippery.
- Pan first, then oil, then fish. Oil going into an already-hot pan is your temperature check. If it does not shimmer and move freely, wait.
- Press for 10 to 30 seconds, then stop touching it. The press gets full contact across the fillet. The stillness lets contraction do its work.
- Turn the heat down before the fish goes in. A pan hot enough to start the skin is usually too hot to finish it. High heat throughout gives you burnt skin and a raw center.
Get those four right and the pan barely matters. Get any one of them wrong and no pan will save the fillet.
The Salt Question: Why Both Camps Are Right
Two approaches are common, and they are usually presented as a disagreement. One says salt at least thirty minutes ahead. The other says salt at the very end. Both produce good fish, but they are not describing the same outcome.
Thirty minutes is the line
The only version that fails is a rushed one. Salt the fish and put it in the pan a few minutes later and you get the worst of both: the surface is wet with moisture the salt has just drawn out, and none of the salt has had time to reach the flesh. You have lost the dry skin you needed and gained nothing.
Thirty minutes or more changes both halves of that. The salt works its way into the fillet, and the moisture it pulls out comes to the surface in the meantime, where a paper towel takes it off before the fish ever meets the pan. That dry surface is what the skin needs. The salt inside does the opposite job during cooking, helping the flesh hold on to its own moisture rather than lose it.
If you cannot give it thirty minutes, do not salt ahead at all. Salt at the pan instead — that is the other valid option, and it is covered next.
Two flavors, not two skill levels
Salted ahead. The salt has had time to travel, so the seasoning runs all the way through rather than sitting on the surface. The flesh tightens slightly as it cures, and it holds together better in the pan. What you taste is a fillet that is seasoned evenly from the first bite to the last, with no pale, flat center.
Salted at the pan. The flesh keeps its own juice untouched, and the salt stays on the surface. The first bite is salt, and what follows is the fish itself. It suits something very fresh and delicate, where you want the ingredient to be the point rather than the seasoning.
Neither is the more professional choice. They are two different things to want from the same fillet, and if you have only ever done one, the other is worth a try on a fish you know well.

Do You Need a Nonstick Pan?
This is not required, and anyone who tells you it is has the wrong variable. What a nonstick surface actually buys you is margin: more room to be imprecise before the result falls apart.
What it makes easier
The two hardest parts of the technique are getting the skin dry enough and knowing when to stop waiting. A nonstick surface softens both.
Skin that is slightly under-dried is more likely to release than it would be on bare metal — the coating covers part of the job the crust would otherwise have to do. It will not crisp as well, but it will not weld itself to the pan either — and it will survive a minute longer than it should, which matters when you are still learning what “ready to flip” feels like.
The flip gets easier too. You can slide a thin turner underneath with less worry, and if the fish resists, you have not already committed to a tear.
What it does not do
It does not brown anything for you. The coating helps a fillet release; it contributes nothing to the crust. Skin that goes in damp steams in any pan, coated or not, and comes out pale.
It also puts a cap on heat, and that cap has a cost. Browning depends on the surface temperature, so a pan that cannot be pushed as hot takes longer to build a crust. The skin survives that fine. The fillet does not — it sits in the pan while the crust catches up, and it is done before the skin is.
Neither limit puts crisp skin out of reach. A properly dried fillet browns in a coated pan, and you never have to run the pan to its ceiling to get there. What you give up is the ability to force browning with heat, which is why drying matters more here, not less.

Step by Step: Salmon
Salmon first. It is the most forgiving, and the best place to learn the sequence.
- Lay the fillet skin side up on paper towel, uncovered in the fridge, 20 to 30 minutes. Cooking right away? Press it dry repeatedly until the skin feels tacky.
- Score the skin lightly. Two or three shallow cuts through the skin only, not into the flesh. This stops the fillet curling off the pan.
- Season both sides. Timing is in the section above.
- Heat the pan over medium-high until hot, then add a high-smoke-point neutral oil and swirl to coat.
- Lower the heat to medium, then lay the fillet in skin side down, moving away from yourself so spitting oil goes the other way.
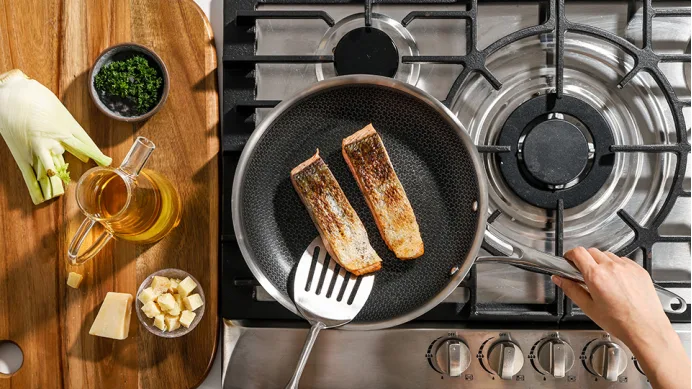
- Press with a fish spatula for 10 to 30 seconds, just enough to make contact across the skin.
- Stop touching it. The fillet is ready to flip when a gentle push makes it slide. Edges golden, skin dry at the rim.
- Flip for 15 to 30 seconds and serve. Check the thickest part for doneness before serving. Cooking time varies with the species, thickness, starting temperature, and heat source.
- For fillets 1.5 inches or thicker, flip and move the pan into a 425°F oven to finish the center without overcooking the skin. Our hybrid pans are oven-safe up to 500°F for up to one hour, which makes this step easy.
What Changes Between Fish Species
The four variables stay the same. What changes is the heat you use, how long the skin stays face down, and what the skin does in the pan.
Oily fish — salmon, mackerel, bluefish
Fat under the skin renders as it crisps, so the skin browns faster than you expect. Take the flame one notch lower than you would otherwise.
Salmon is the easiest of the three to learn on. Mackerel curls hard at the edges and needs scoring.
White fish — cod, halibut, flounder
Thinner skin, wetter flesh, so the surface stays slippery longer than it looks. Give it more time face down than the color suggests — cod skin stays chewy until it goes past golden. Thick halibut fillets should finish in the oven rather than on the stove.
Sea bass — the middle ground
Its one problem is curling. Thin, collagen-rich skin contracts the moment it hits the pan, so scoring matters more here than on anything else in this list.
Very thin-skinned fish — trout, some bream
This skin fails by tearing rather than curling. There is no margin for a second flip, so treat it as a one-flip fish: skin side until it releases, ten seconds on the flesh side, out.
How to Flip Without Tearing
This is a tool question more than a skill question.
Use a fish spatula, not a turner
A fish spatula is thin, flexible, and angled so its front edge slides under the skin rather than pushing against it. A stiff turner has to be forced underneath, and forcing is what tears. If you cook fish more than once a month, this is the one tool worth owning.
The motion, in one pass
Come in at a shallow angle with the front edge flat against the pan, and slide until the whole fillet is sitting on the blade. Then turn it in one motion. Hesitate halfway and the fish slides across the spatula — that slide is where most tears happen.
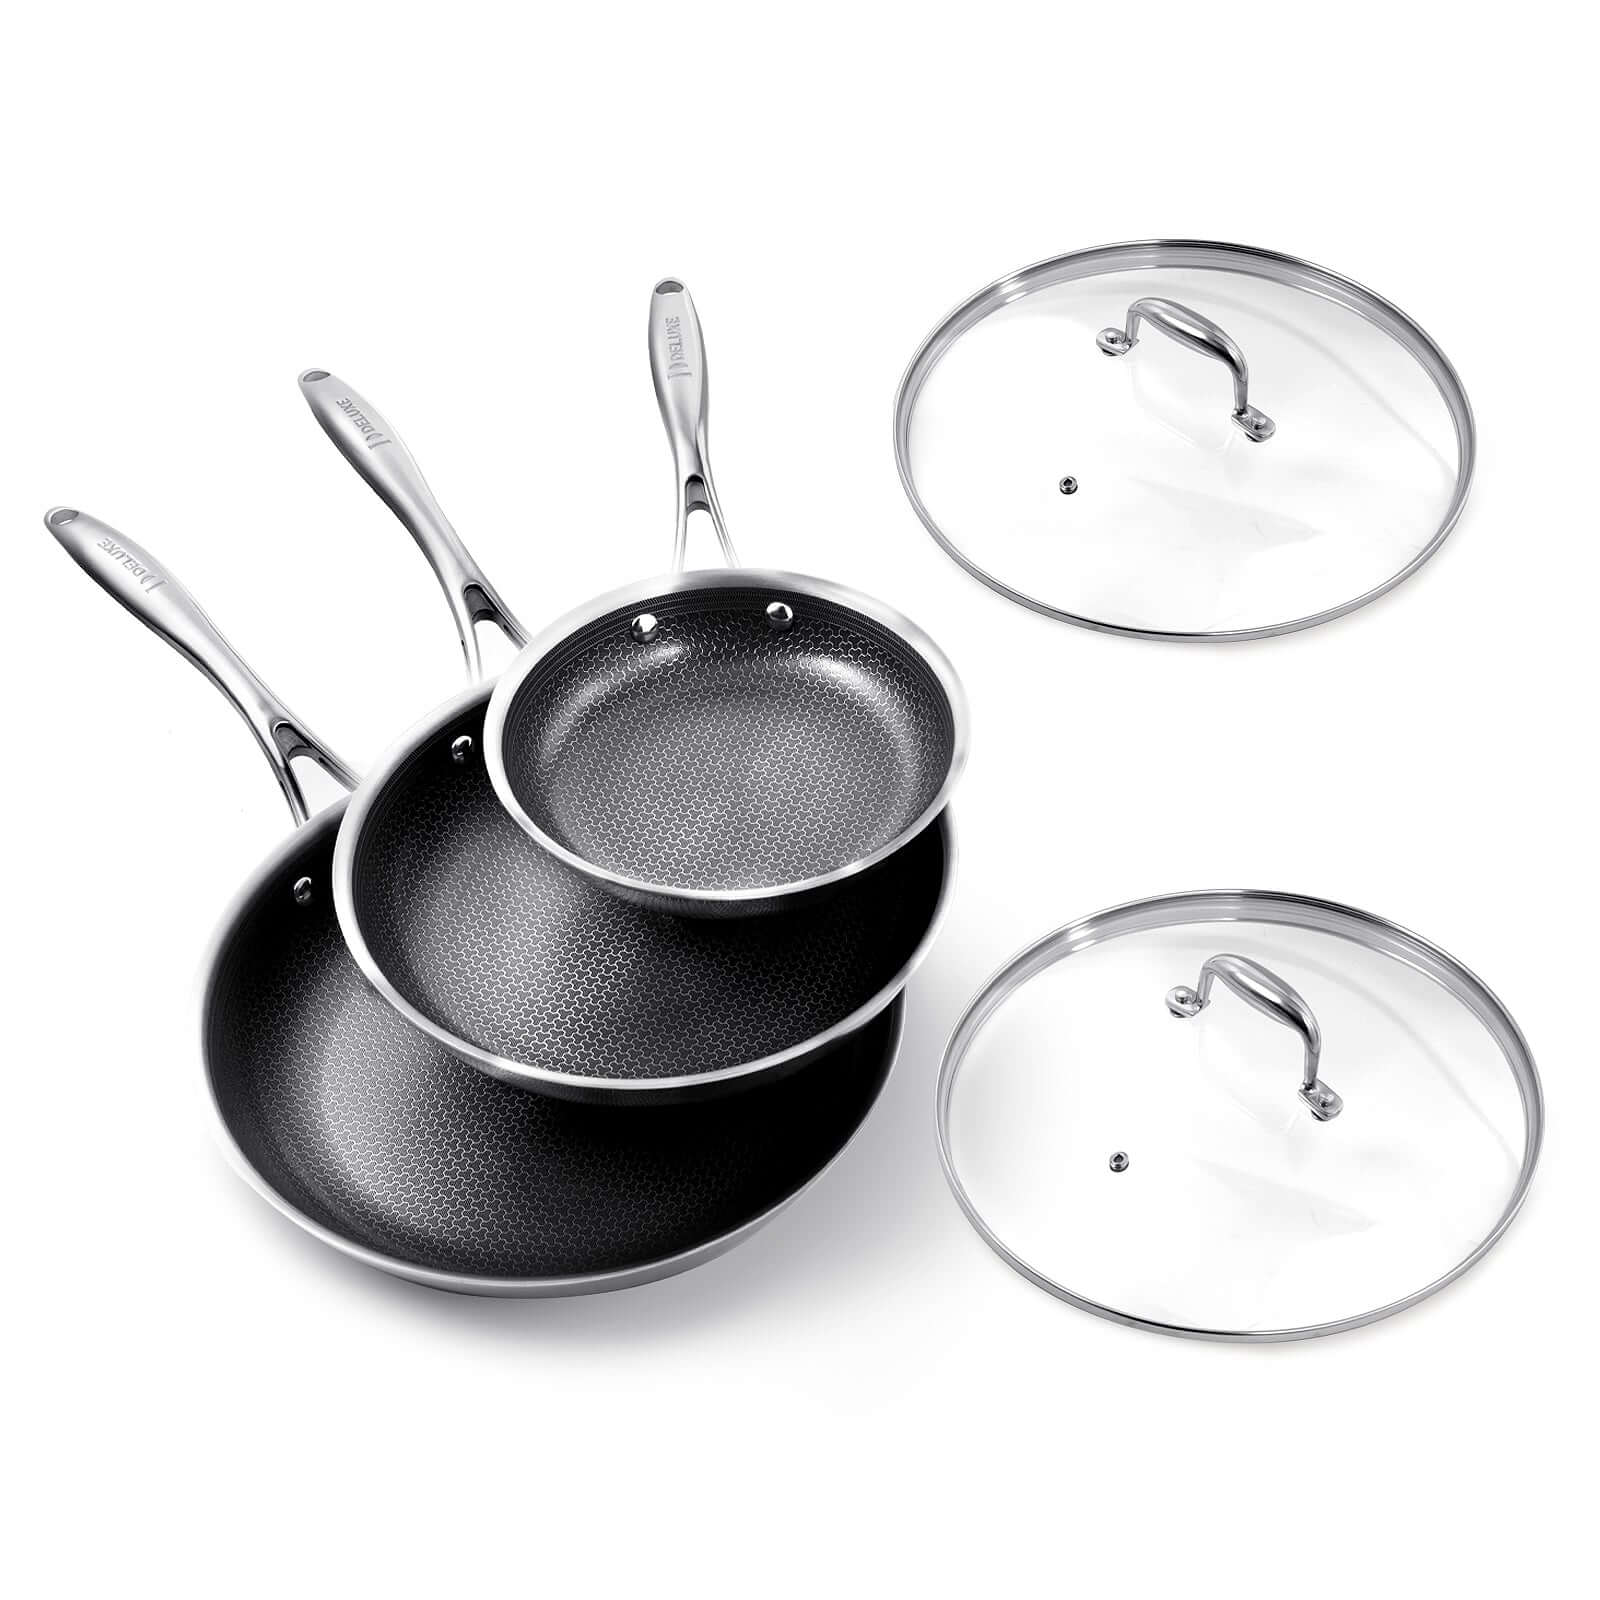
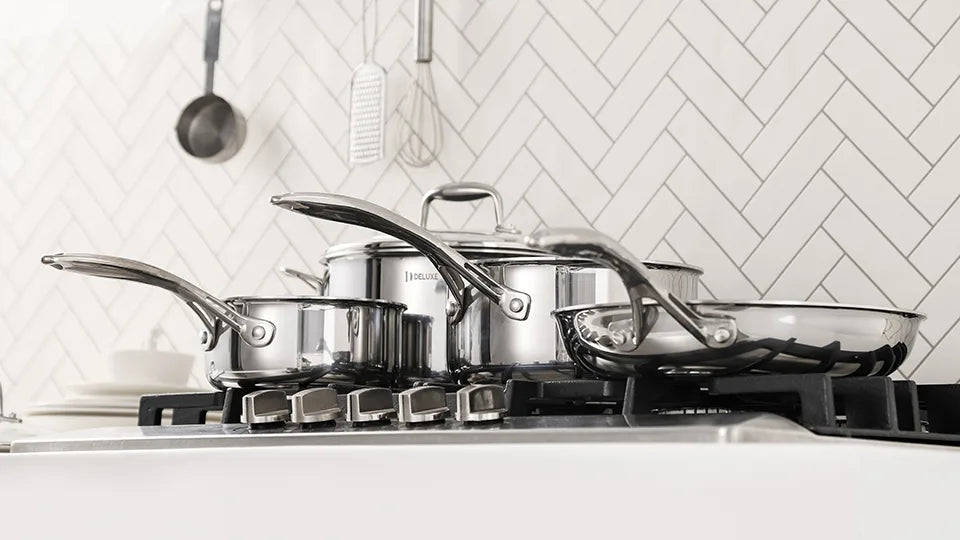
A metal fish spatula is the right tool for this, and it needs a surface that can take metal. The laser-etched honeycomb on our hybrid pans is built for exactly that, so you can slowly slide a spatula under a delicate fillet without worrying about what it does to the coating, but do avoid sharp edges.

If Something Goes Wrong Mid-Cook
Four things can go wrong once the fillet is in the pan: sticking, tearing, curling, and pale skin. Here is what to do about each, and in what order to try it.
The spatula will not go under
Stop pushing. Turn the heat down a notch — not to help it release, but so the skin does not scorch while you wait — and give it sixty seconds. Then try a light nudge rather than a lift. If it still holds, the skin went in wet: nothing will fix that now, so finish the fillet and take the loss on the skin.
It is coming up in pieces
You are past the point where waiting helps. Slide the spatula further under, support as much of the fillet as the blade will hold, and accept a shorter flip. Serve it skin side up so the broken side is not the first thing on the plate.
The edges have curled up off the pan
Press them back down with the spatula and hold for a few seconds. The center will still brown, and the curl will relax as the skin sets. Score the next one.
The skin looks pale and is not crisping
Check three things, in this order.
1.Liquid in the pan. Tilt and spoon it out. Water cannot exceed a boil, so nothing browns while it sits there.
2.Heat too low. Dry pan, increase the heat slightly, one minute to recover. Watch the edges, not the center.
3.Steam from a lid or a wet rim. Take the lid off, wipe the pan's inner rim, keep going.
If none of those apply, the skin went in wet. Nothing recovers that now — pull the fillet early and dry the next one properly.
Conclusion
Crispy skin is not a technique problem. It is a patience problem.
Dry skin, a properly hot pan, and then nothing. That is the whole method. The flip looks like the skilled part, and it requires the least skill of anything here — the fish tells you when it is ready, and all you have to do is wait for the signal.
Do it once and the timing becomes obvious. After that, what changes between salmon and sea bass is how much the skin fights you — and how early you have to score it to stop that.
Frequently Asked Questions
Should you cook fish skin side down first?
Yes. The skin side goes down first because that is where the crust comes from, and it needs the pan at its hottest and cleanest. Start with the flesh side and the pan has already lost some heat and picked up protein by the time the skin goes in, which is the wrong way round — you are left doing the hardest step on a pan that has already given up its best heat.
Flip once at the end, briefly, and only to bring the flesh side up to temperature.
How long do you sear salmon skin side down?
Four to six minutes for a typical fillet, and longer for anything over an inch and a half thick.
But treat those numbers as a reference, not a rule. The real signal is movement: when a light push makes the fillet slide, the skin has released and it is ready. If it still holds, it is not done, regardless of what the clock says.
What is the best oil for crispy skin?
A neutral oil with a high smoke point. Butter is the wrong primary fat because of its water content — it steams the skin instead of frying it. Olive oil works, though extra virgin smokes earlier than you want here.
How do restaurants get the skin so crisp?
Three things, none of them secret: the fish is dried uncovered in the fridge, the pan is properly hot before the fillet goes in, and nobody touches it until it releases. Restaurant kitchens do this dozens of times a week, which is the real advantage they have.

Leave a comment
This site is protected by hCaptcha and the hCaptcha Privacy Policy and Terms of Service apply.